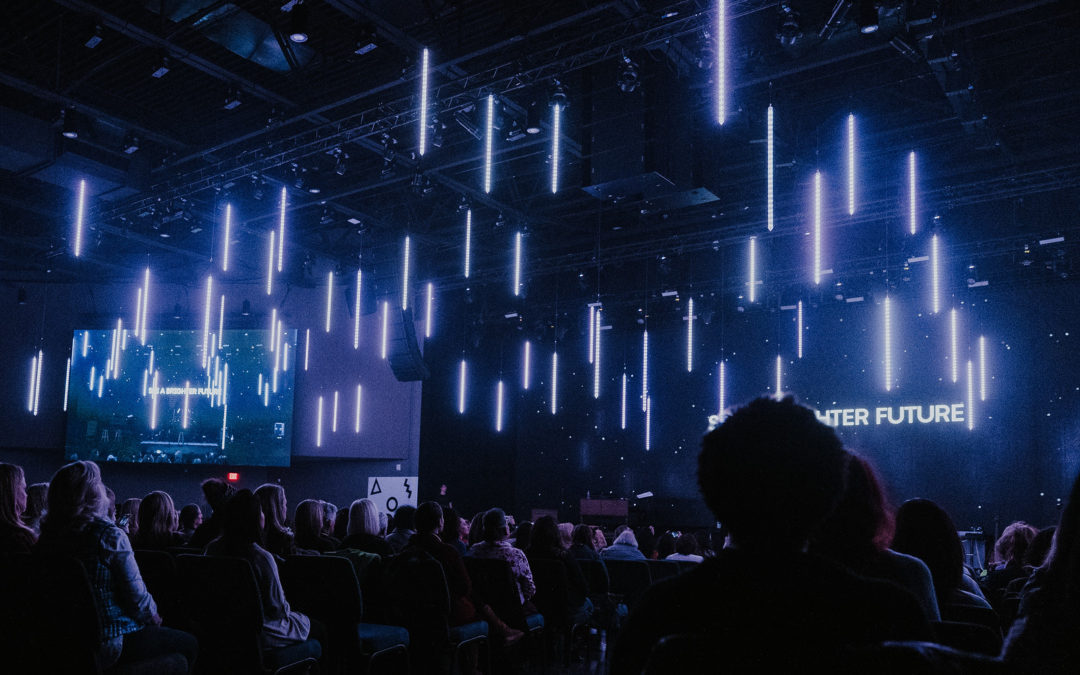
Welcome to the Mod Scenes podcast, this is your host, Stephen, and I’m thrilled to talk to you today about creating a great a stage design for your church, great church stage design, and a great stage backdrops for your next event. So today I want to talk particularly about one of our stage design products, which is the, uh, our projection screens. So we, uh, we carry a couple of different projection screen styles. They come standard as 69 or 32 by 18, which is also a 16 nine format, uh, but in addition to that, we also customize the screens to fit the needs of our clients best. Um, so if you’re ever in need of a specific size screen, we’d be happy to a creative for you. Uh, so the biggest difference in our screen products compared to say like a fast fold screen or you know, uh, you know, stretch, fabric screen, something like that that you might purchase from a, a different retailer is our products are designed to be a little bit more visually interesting.
So they’re not just a flat surface. They are, they have a, a gap between the panels which creates a, uh, which creates kind of an outline between each projection panel, um, and this gives it more of a character of the screen, more of a character. So it’s, uh, the, these, uh, these stage backdrops, these projection drops are available in both our proceeds line of product and our monsoon as lines of product. They’re also available for rentals for our proteins line. Um, and uh, they come with all the hardware, whatever you purchased them. So it’s super simple to build. There’s lots of spares, uh, you know, one of the things that’s really, that’s one of the things that’s really, really quite cool about how we handle our products is when we send something you may buy if you buy, so you buy 30 panels or something.
We’re always gonna we’re always going to send a fair and make sure we send spare hardware and connectors that way if you ever lose any or you’re, you’re still okay. Um, so, uh, continuing continuing on the projection screens, um, our projection screens already are made out of, a majority of the ones we do are for churches. So, uh, we’ve done a 28 campuses with her 24 campus wide church, I believe. Um, we’ve done a lot of campuses, is pretty much almost all of them at this point. Um, we also have done a, a canvases for Orchard Church and for a Xr church and a real revolution. Uh, there’s uh, quite a few different churches. We provided different projection screens for um, and the biggest thing is, like I said, it’s a, it’s a more unique screen piece then if you were to just do, say a, say a flat screen across, um, which the great thing about our product is if you just use different connectors, you can make it a flat screen, uh, if you use our standard connectors as opposed to our expanded connectors.
So our expanded connectors come, come standard with every screen purchase so that you can make the screen with the gaps, but you can also purchase for additional cost, the standard connectors to be able to, um, you know, eliminate the gaps if you ever wanted to do that and just make it a solid screen. Um, both of our plastics we use are very, uh, reflective plastics. So our fire rated coroplast reflects light really well. Most of the photos you see on our website are that, that, um, fire rated the chloroplast, which obviously, as you can see in all of our products, works great as a stage backdrops material, a since it’s, you know, it’s highly reflective, it’s non-flammable, it’s, um, it’s easy to manipulate, cut if you have two onsite and it’s lightweight, so it’s easy to hang, uh, as well. Uh, and then the PVC, a similar thing, it’s a sense, it’s all fire rated.
A safety use on stage, uh, is a little bit heavier material, which is good. Uh, if you’re using in a corporate setting where it might be beat up a little bit more, um, it’s also, uh, it’s made to, uh, uh, you know, it’s made to be super reflective. It’s a very reflective plastic. It has a really nice finished look. So, um, what else can I tell you? Uh, let’s, let’s go into how you would build one of these projection screens because that is a question that we’ve got a couple of times. Um, so these projection screens, they’ll pretty simply, uh, so, and in your setup, you’ll be sent your panels, um, your edge panels, your zip ties, and a connectors. So the first thing you’ll do is you’ll zip tie up your first road connectors up to a pipe or trust. Or if you’re working from pipe and drape, you can also use the pipe and drape hangers instead.
Once you’ve got that first row of King of a first row of connectors off, then you’ll build on your first row of panels. Typically, this is going to be like, for example, for a canvas diamond screen, this is going to be your half triangles. So you’re pointing your half triangles down, put your squares in between that, and then after that you’ll continue to build down alternating rows of connectors than panels panels until you get to your desired height. And then at that point you’ll put on your last row connectors and your last role panels, which again will be like half panels, uh, if you’re doing a, you’re doing a screen and a canvas diamond screen or a solid panels like a keystone if you’re doing it like some, like a keystone street. Um, so the end, the way that build is you, you’re so tied up your first connector and you take your panel and you push a white nylon bolt through the front of the panel.
That bowl also goes through the front of a connector that’s connected, it’s the data, you tied it together with a wingnut and then you repeat this process for all your first row panels and then you start to attach them together with the, with the connectors, and then continue the whole process again and again until you’ve got your desired height or desire size. Um, so in addition to, in addition to that, um, we also, uh, we also can customize your screen to have gaps or holes or whatnot, uh, and with each of those customizations we send a, a assembly drawing which shows you how to build it along with the steps of how to put it together. And all of our, all of our bolts and hardware are, all of our bolts are the same, so they’re interchangeable. If you already have a mindset, you can interchange them.
Uh, the connectors are slightly different, um, but they do have a standard that they follow and those connectors can be used in conjunction with your standard monsoons panels if you ever wanted to create a gap around your standard Matsiti. Um, so, uh, and let’s talk about a little bit about content onto your screens. Because I’ve made a lot, I get a lot of questions about this. There’s a couple of different ways you can do content. So the best way is to do a short throw projector, not an ultra short throw, but like a, just a standard short throw projector somewhere near the front edge of the stage, shooting across the stage. And then onto the backdrop. This will minimize your, uh, your shadows as much as possible, uh, and it’ll give you a full line of sight where you can, where you can project from corner to corner of the screen.
So like a 32 by 18, you know, so you can project 32 foot wide, 18 foot tall. Um, so yeah, uh, I’ve also, I’ve also been asked about ultra short throw projectors. Uh, there are a couple options for ultra short throw projector projector’s. However, a lot of times the, uh, the needed intensity is not available in an ultra short throw projector and the available throw. So you’re going to want to know if you’re doing a 16 nine and you’re going to need to, you’re going to need a, a, you’re going to need a pretty substantial projector to be able to fill that whole space. And typically those come to come and such a cost that it’s cheaper to do a standard, a short throw projector with a correct mounting and everything above the stage, uh, in addition to doing just the projection across it and lighting the entire, uh, stage backdrops of projection.
Another way you can handle your church stage design and stage backdrops with these screens is by doing uplighting on the screen and then projecting the words into a smaller portion of the screen. Uh, so what this means, this manages is it helps you if you don’t have a large enough projector to fill the whole area, it gives you enough, um, enough to be able to do, to do a portion of the area, still get your, uh, your visual of your, you know, complex screen. But at the same point, you are not a st point. You’re not having to go out and buy a new $8,000 projector or whatnot. So, um, and then like all of our other products, once you’re done with the screen, if you want, if you’re done with it, you can easily pack away into our heart our heavy duty boxes. I’m a typical 32 by 18 is going to fit into three or four boxes, so it’s pretty compact.
Uh, so it’s easier to store when you’re done with it and easily get back out and build if you ever want to use your stage backdrops it again. So I hope this was a helpful exploration of our projection products. Uh, at some point we’ll probably go through and do a more in depth dive into each different type of product so that the different types of screens, uh, but for the short term, uh, here’s at least an introduction to that. Do you have any questions? Shoot me an email. My email is stephen and modscenes.com and I’m thrilled to chat with you and I’m thrilled to serve you on your next church stage design things. Uh, thanks again for tuning in and checking out the mod scenes podcast.


Recent Comments